Introduction
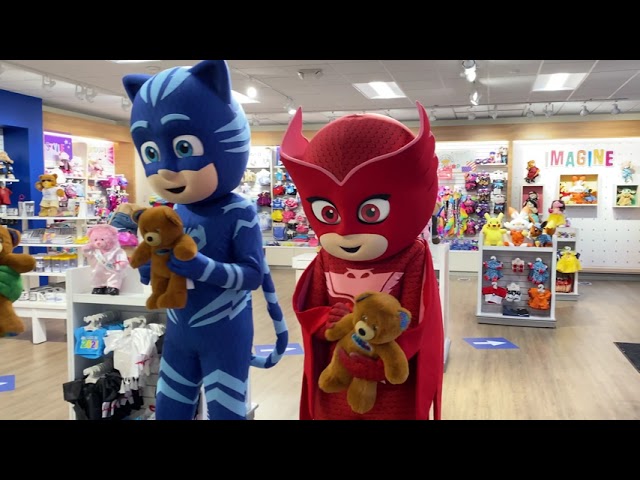
Hello there, and welcome back to Buildalink! Today, I’m excited to share with you how to make your very own PJ Mask stuffed animal. Whether you’re a fan of PJ Mask or just enjoy crafting, this project is sure to bring a smile to your face. So, let’s dive into the fun of creating your very own cuddly superhero companion.
Gathering Materials
Before we get started, it’s important to gather all the necessary materials. You’ll need felt in various colors, stuffing, a needle and thread, fabric glue, and a printed template of your favorite PJ Mask character (Catboy, Owlette, or Gekko).
Creating the Body
First, use the printed template to cut out the body pieces from the felt. Then, layer and stitch the pieces together to form the main body of the stuffed animal. Be sure to leave an opening for adding the stuffing.
Adding Details
Next, it’s time to add the unique details that make your PJ Mask stuffed animal truly come to life. Use different colored felt to create the character’s signature features, such as the mask, emblem, and any other distinguishing markings. Once you’ve crafted these details, carefully attach them to the main body using fabric glue or stitching.
Finishing Touches
Finally, once all the details are in place, carefully stuff the body of the stuffed animal with the filling material. Once it’s nice and plump, stitch up the opening to secure the stuffing inside. And voila, your One-of-a-Kind PJ Mask stuffed animal is complete!
Share Your Creation
I hope you enjoyed learning how to make your very own PJ Mask stuffed animal. If you decide to give this project a try, I would love to hear about your experience. Feel free to share your thoughts, tips, or even pictures of your finished creation in the comments below. And as always, if you have any questions or suggestions for future Buildalink projects, don’t hesitate to let me know. Happy crafting!
